A Piano Lesson Plan for Young Children
Yesterday, I taught an autistic boy who had started to learn “Jumpin’ Joey” by Diane Hidy. This student LOVES all of the pieces in Diane’s “Attention Grabbers, Book 1”.
The opening motive has a rhythmic pattern of four quarters, two 8th notes, quarter, half note. In other words - “ta, ta, ta, ta, ti-ti, ta, ta-ah.”
Of course, the kid played the eighth notes the same as the quarters. He was not PREPARED to learn 8th notes yet.
Even though he is an online student, I jumped in with my plan of physical prep, visual prep, Orff-style tapping, and then sound + symbol.
Here’s a breakdown of the activities we did:
Here's a Breakdown of the Activities We Did:
Physical Preparation
I asked him to stand up. I modeled jumping in place and chanting the rhythm in small bits while he echoed. First, we jumped and said “ta, ta, ta, ta.” Then we did “ti-ti ta, ta-ah.” Finally, we put it all together. This physical movement helps young piano students internalize rhythm naturally.Visual Preparation
We used our practice kit. (If you don’t know what a practice kit is—here’s a peek!)
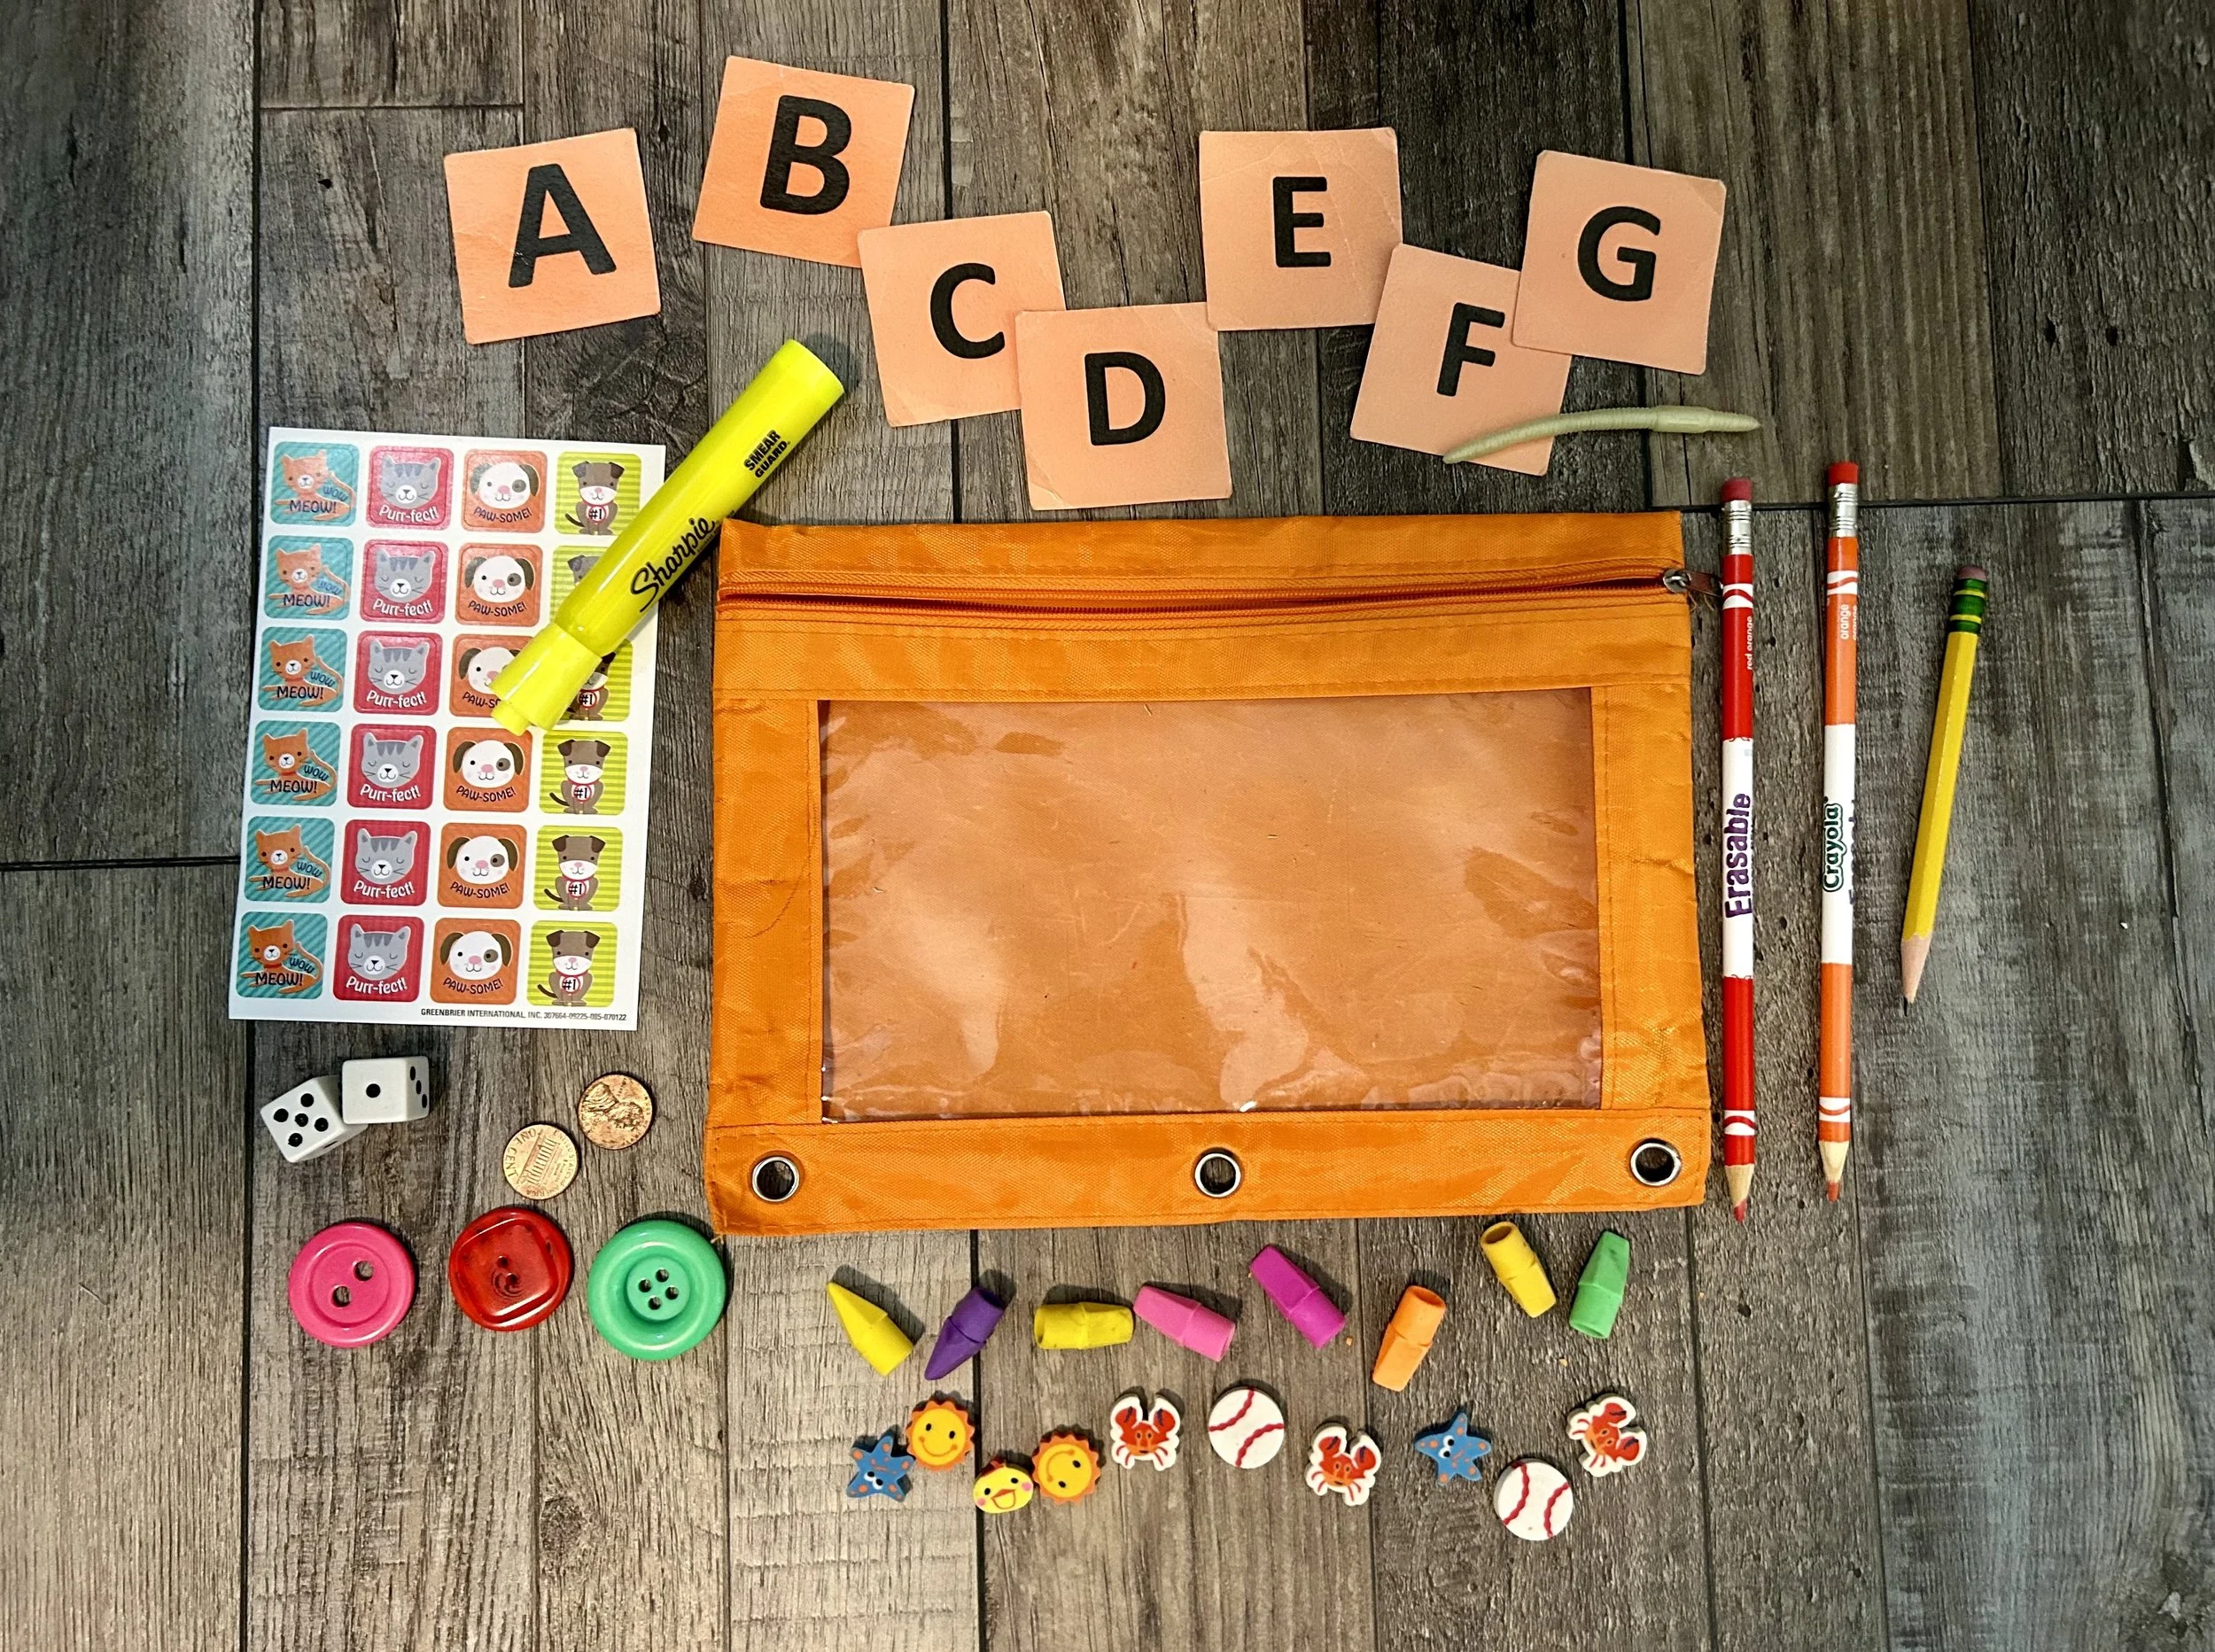
various school supplies with a pencil pouch
I asked him to find seven small erasers. We also found a big pink one. I showed him how to line them up on his piano. As we placed the eraser, I said the sound (ta). Here’s the pattern we made:
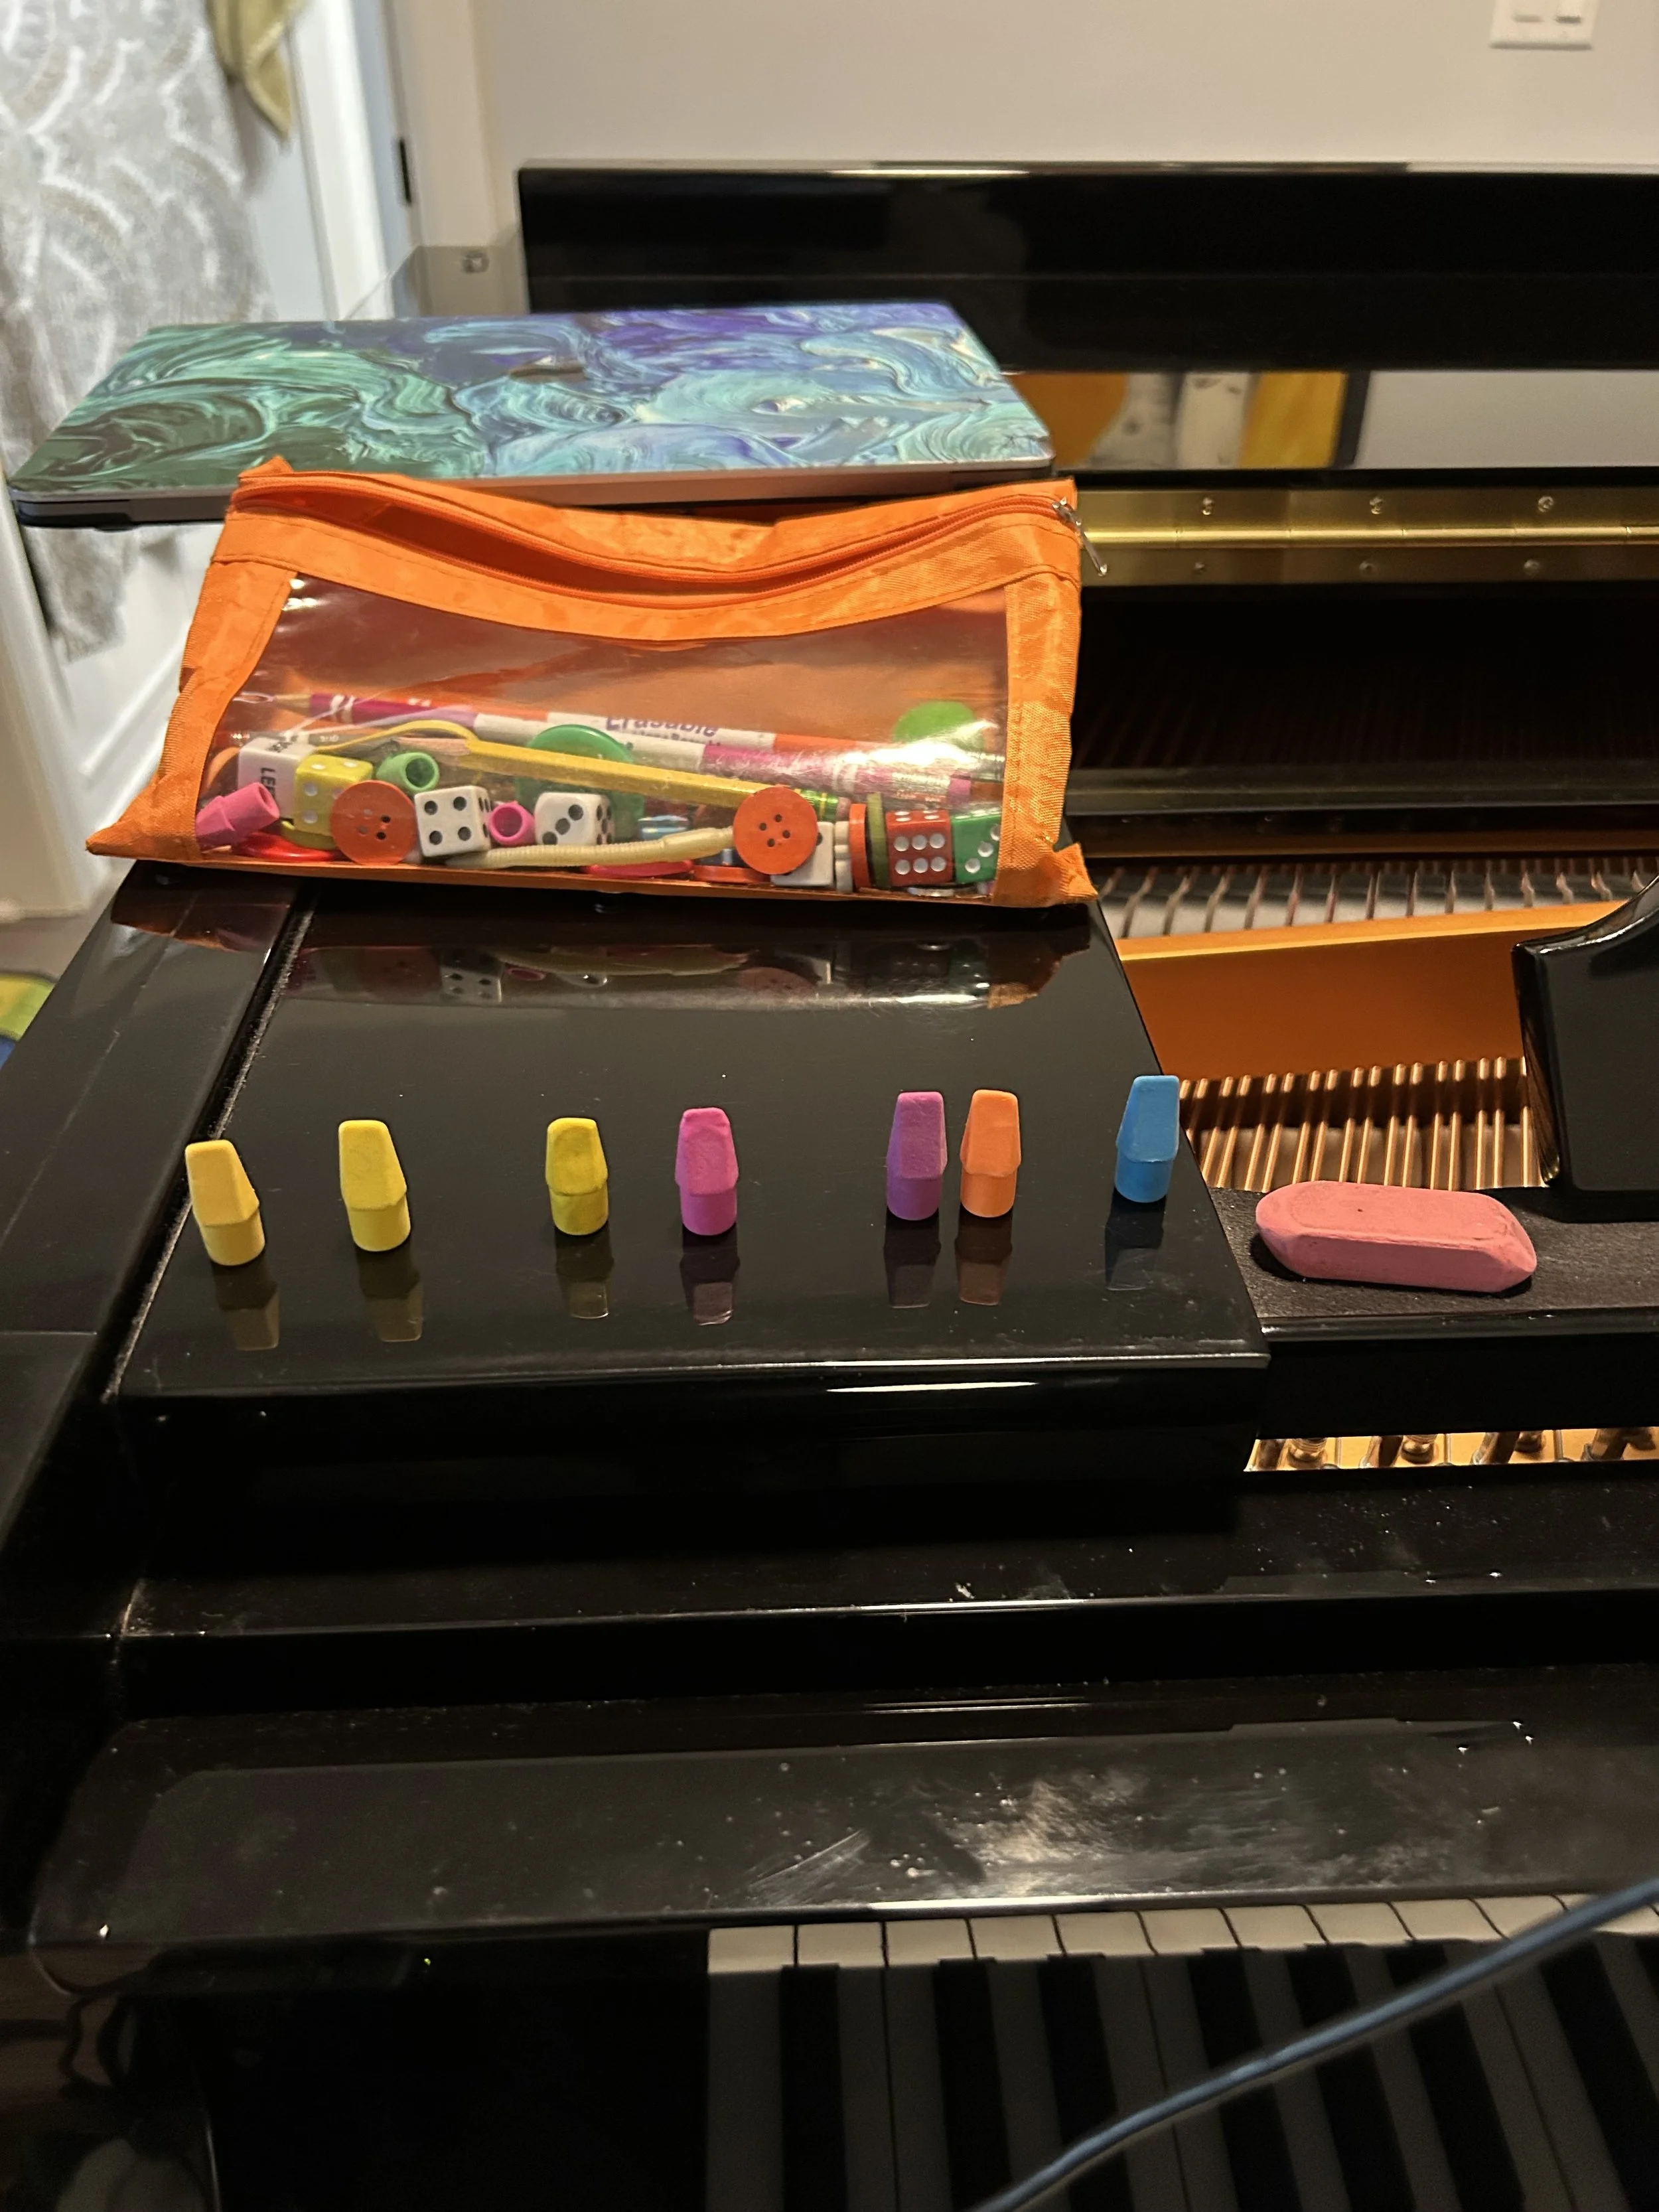
pencil erasers on the side of a piano. Practice kit nearby.
We chanted as we did the whole pattern, left to right. This was visual preparation.
Using visuals alongside movement reinforces the learning process, especially for students who benefit from hands-on, multi-sensory approaches. This is one of the secrets to making beginner piano lessons both fun and effective.
3. Orff-Style Tapping
Next, we tapped the rhythm on various surfaces: laps, the floor, or even a drum pad. This classic Orff approach keeps things playful while building coordination and a stronger sense of rhythm.
Next, we used both hands to tap the rhythm on the fallboard as we chanted. Then - we played the rhythm on the piano, using just one key at first, then branching out to two and three keys. This is an Orff-inspired approach.
4. Sound + Symbol Connection
Finally, we transitioned to the piano, connecting the rhythm sounds to actual notes. By the end, my student had a much stronger grasp of the rhythm pattern, even though we were working through a screen.
Lastly, I played the rhythm using the correct notes while he copied.
Now - why didn’t I do that in the first place?
Because he would not have been prepared for the repeated rhythm on different notes in the piece. He sight-read the rest of the piece with NO problem.
Why This Method Works for Young Beginners
Breaking down rhythm learning into physical, visual, and auditory components makes the process accessible and enjoyable. It’s a great strategy for teaching rhythm to young piano students, especially when they aren’t quite ready for more traditional note-reading methods.
Want to learn more effective teaching strategies for young beginners? Stay tuned for my upcoming posts with more practical tips and creative ideas!
Maybe we will go over this again. But I think the next time he sees 8th notes - he will be more prepared!
🎵 Want to save time planning your next rhythm lesson?
The Beginner Theory Bundle gives you a full set of no-prep printables that reinforce core rhythm concepts—plus lines and spaces, the grand staff, and more. Whether you're reviewing or introducing new ideas, this bundle helps your students see and feel the beat.
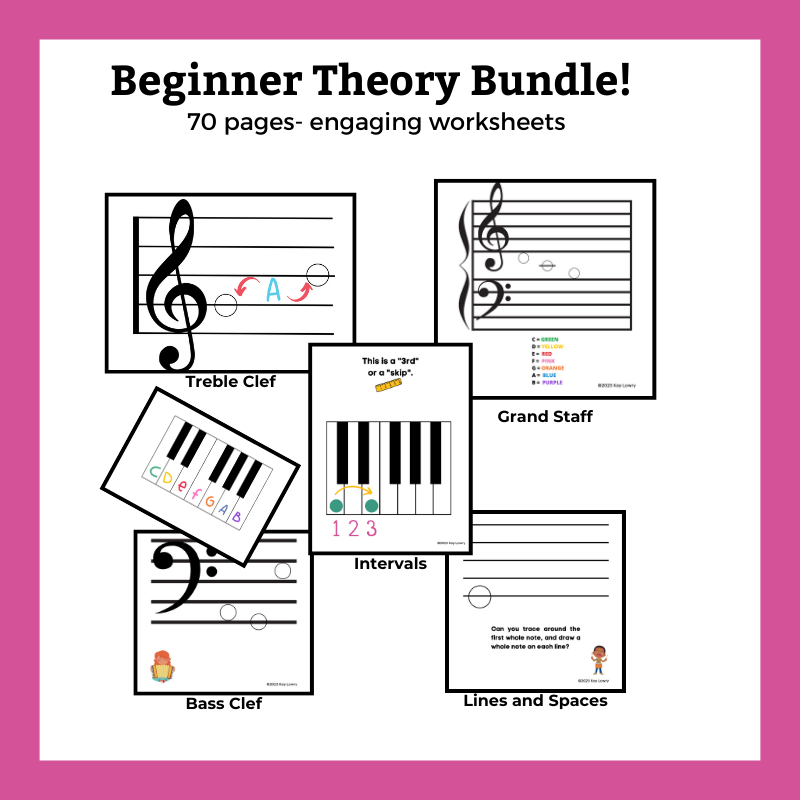
cute music worksheets representing 70 pages
Your time matters, your students matter, and great rhythm lessons shouldn’t be complicated!